Protecting Your Plumbing System from Winter Freeze Damage
Winter’s beauty can quickly turn into a homeowner’s nightmare when temperatures plummet and threaten to freeze pipes. Frozen pipes can burst, leading to significant water damage, costly repairs, and a major inconvenience. Fortunately, with a little preparation and preventative action, you can safeguard your plumbing system from the ravages of winter.
Understanding the Risks
Before diving into preventative measures, it’s crucial to understand why pipes freeze and burst.
- Water Expansion: Water expands when it freezes. This expansion creates immense pressure within the pipes.
- Weak Points: The pressure from expanding ice can overwhelm the pipe’s structural integrity, especially at joints, elbows, or areas weakened by corrosion.
- Bursting: When the pressure exceeds the pipe’s capacity, it bursts, releasing water and causing damage.
Preventative Measures: Before the Freeze
The best defense against frozen pipes is proactive preparation. Here’s a checklist to get you started:
1. Insulate Exposed Pipes
- Identify Vulnerable Areas: Focus on pipes located in unheated areas like basements, crawl spaces, attics, garages, and exterior walls.
- Use Pipe Insulation: Wrap pipes with foam or fiberglass pipe insulation sleeves. These are readily available at hardware stores and are easy to install.
- Heat Tape: For pipes in particularly cold areas, consider using thermostatically controlled heat tape. This tape gently warms the pipes to prevent freezing. Follow the manufacturer’s instructions carefully.
2. Seal Air Leaks
- Inspect Your Home’s Exterior: Check for cracks and gaps around windows, doors, and where pipes enter the house.
- Caulk and Weatherstrip: Seal any air leaks with caulk or weatherstripping to prevent cold air from reaching your pipes.
- Insulate Walls: If possible, insulate exterior walls, especially those containing plumbing.
3. Let Faucets Drip
- Slight Drip: On extremely cold nights, let faucets drip slightly, especially those on exterior walls.
- Moving Water: The constant movement of water, even a slow drip, can prevent pipes from freezing.
- Cost Considerations: While this uses water, the cost is minimal compared to the potential damage from a burst pipe.
4. Open Cabinet Doors
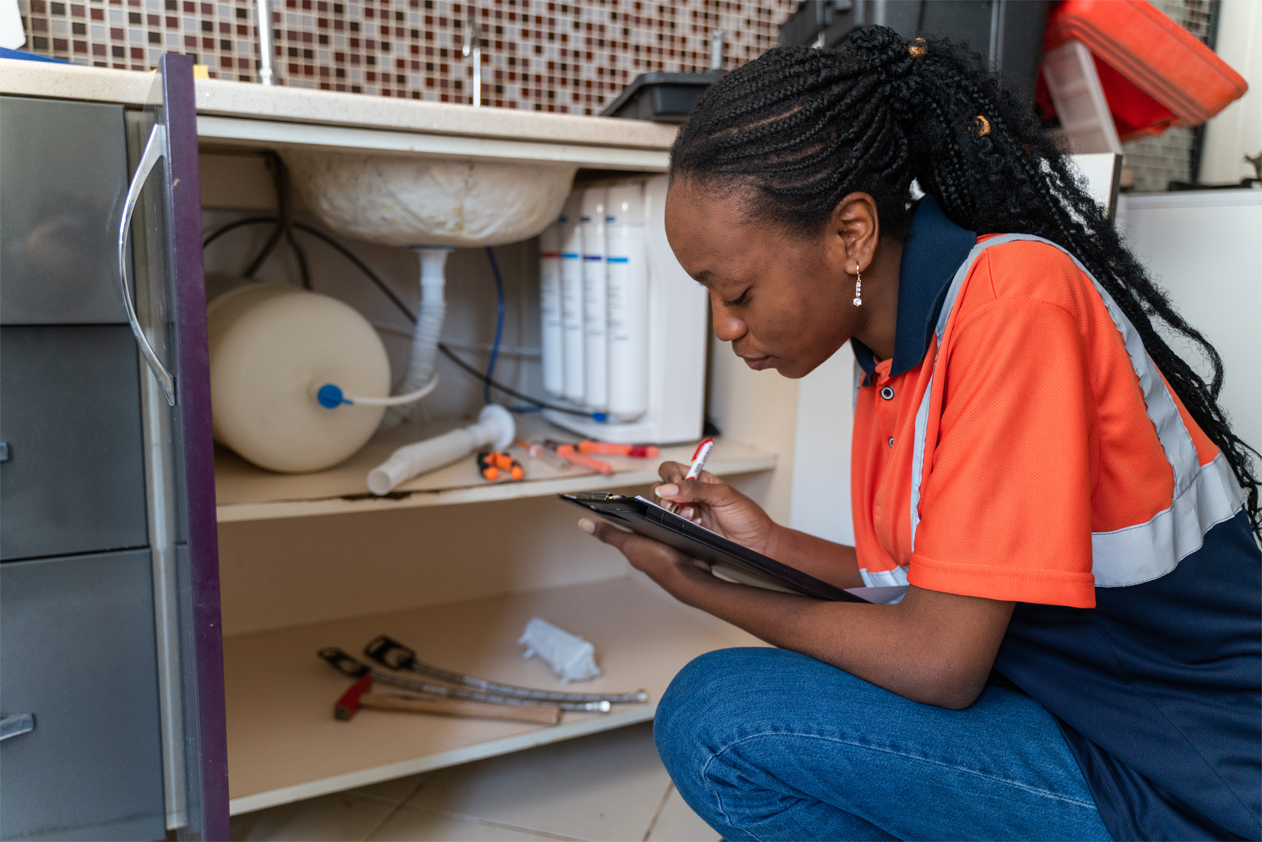
- Expose Pipes to Warm Air: Open cabinet doors under sinks, particularly those on exterior walls, to allow warm air to circulate around the pipes.
- Safety Considerations: Ensure that any cleaning supplies or hazardous materials are safely stored out of reach of children and pets.
5. Maintain a Consistent Temperature
- Don’t Lower the Thermostat Too Much: When leaving your home for extended periods, don’t lower the thermostat below 55°F (13°C).
- Consistent Warmth: Maintaining a consistent temperature throughout your home helps prevent pipes from freezing.
6. Disconnect and Drain Outdoor Hoses
- Disconnect Hoses: Disconnect all garden hoses from outdoor faucets.
- Drain Faucets: Drain the faucets and close any inside valves that supply water to the outdoor faucets.
- Insulate Outdoor Faucets: Consider using insulated faucet covers to protect them from freezing.
What to Do If You Suspect Frozen Pipes
If you turn on a faucet and only a trickle of water comes out, or no water at all, you may have a frozen pipe. Here’s what to do:
1. Act Quickly
- Time is of the Essence: The longer a pipe remains frozen, the greater the risk of it bursting.
2. Locate the Suspected Frozen Area
- Check Exposed Pipes: Start by checking exposed pipes in unheated areas.
- Look for Bulges or Cracks: Inspect pipes for any signs of bulging or cracking, which could indicate a burst is imminent.
3. Thaw the Pipe Carefully
- Apply Heat Gradually: Use a hair dryer, heat lamp, or towels soaked in hot water to gradually thaw the frozen pipe.
- Start Near the Faucet: Begin thawing the pipe near the faucet and work your way towards the frozen area.
- Never Use Open Flame: Never use a propane torch or other open flame to thaw pipes, as this can damage the pipes and create a fire hazard.
4. Turn on the Faucet
- Slowly Open the Faucet: As you thaw the pipe, slowly open the faucet to allow water to flow and relieve pressure.
5. Call a Plumber
- If You Can’t Thaw the Pipe: If you are unable to thaw the pipe yourself, or if you suspect a burst pipe, call a licensed plumber immediately.
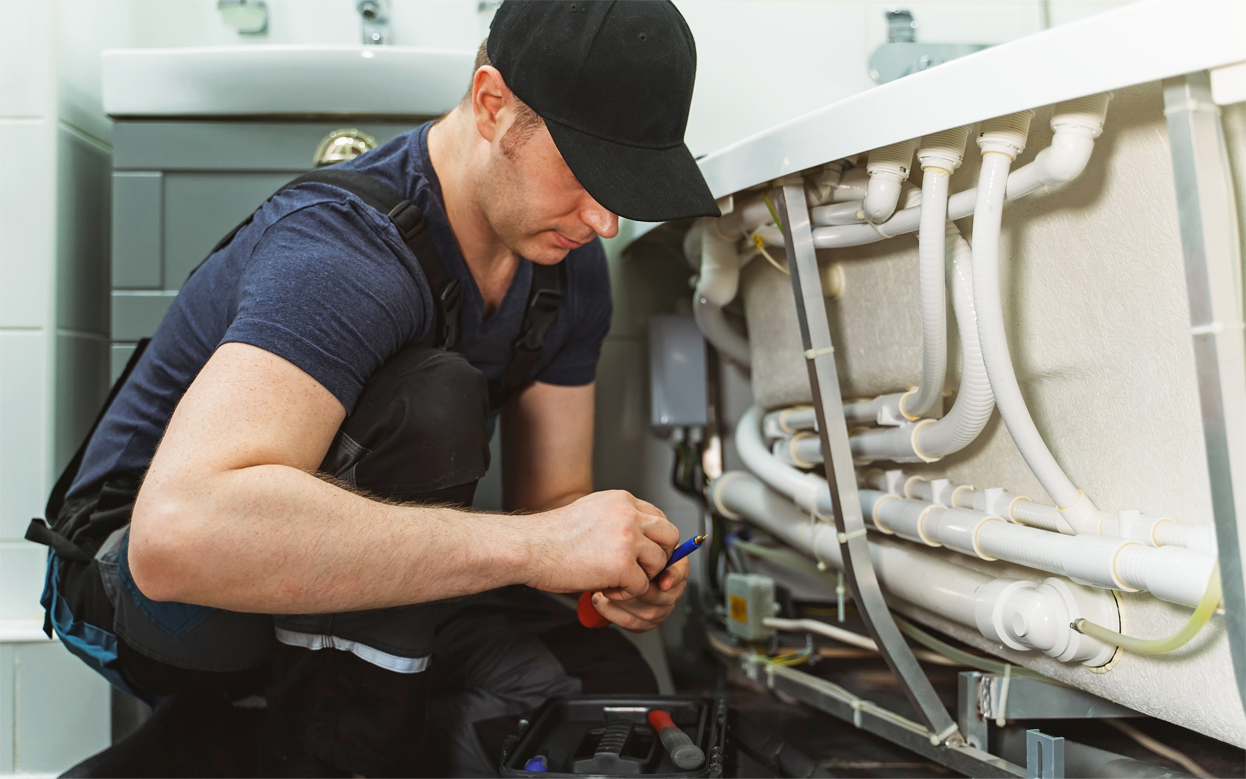
- Professional Assistance: Plumbers have the expertise and equipment to safely thaw frozen pipes and repair any damage.
Dealing with a Burst Pipe
If a pipe bursts, take the following steps immediately:
1. Shut Off the Water Supply
- Locate the Main Water Shut-Off Valve: Find the main water shut-off valve for your home and turn it off immediately. This will minimize water damage.
2. Call a Plumber
- Emergency Repair: Contact a plumber for emergency repair services.
3. Contact Your Insurance Company
- File a Claim: Contact your insurance company to file a claim for water damage.
4. Document the Damage
- Take Photos and Videos: Take photos and videos of the damage for insurance purposes.
5. Remove Water and Dry the Area
- Prevent Mold Growth: Remove standing water and dry the affected area as quickly as possible to prevent mold growth.
Conclusion
Protecting your plumbing system from winter freeze damage requires a combination of preventative measures and quick action when problems arise. By following these tips, you can minimize the risk of frozen pipes, prevent costly repairs, and enjoy a worry-free winter. Remember, a little preparation can go a long way in safeguarding your home and your peace of mind.