Understanding and Addressing Common Causes of Faucet Leaks
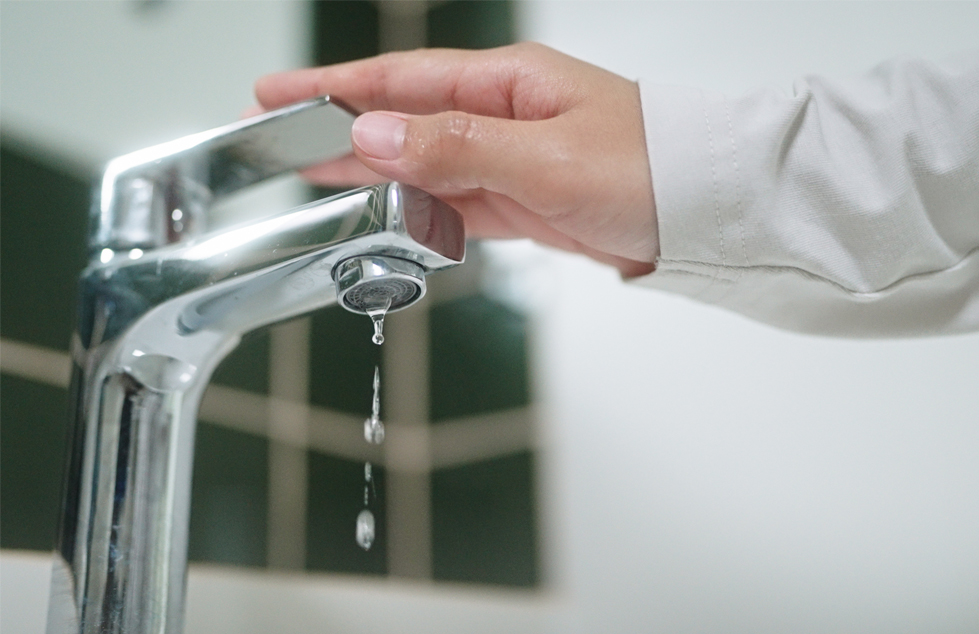
A dripping faucet is more than just an annoyance; it’s a waste of water and money. Identifying the cause of the leak is the first step towards fixing it. This guide will explore common reasons for faucet leaks and provide basic troubleshooting steps. Remember, if you’re uncomfortable with plumbing repairs, it’s always best to call a professional.
Common Causes of Faucet Leaks
Several factors can contribute to a leaky faucet. Here’s a breakdown of the most frequent culprits:
- Worn-Out Washers: This is perhaps the most common cause, especially in compression faucets. Washers are rubber or neoprene discs that seal the valve seat when the faucet is turned off. Over time, they wear down, crack, or become stiff, preventing a tight seal and leading to drips.
- Damaged O-Rings: O-rings are small, circular rubber seals that sit around the faucet stem. They help prevent water from leaking around the handle. Like washers, O-rings can deteriorate over time, causing leaks around the faucet handle.
- Corroded Valve Seats: The valve seat is the part of the faucet body that the washer presses against to shut off the water flow. Mineral buildup and corrosion can damage the valve seat, creating an uneven surface that prevents the washer from sealing properly.
- Loose or Damaged Cartridges: Cartridge faucets use a cartridge to control water flow. If the cartridge is loose, cracked, or worn, it can cause leaks.
- Worn-Out Seals: Ball faucets, which use a ball mechanism to control water flow, have several seals and springs that can wear out over time, leading to leaks.
- High Water Pressure: Excessive water pressure can put stress on faucet components, accelerating wear and tear and increasing the likelihood of leaks.
- Improper Installation: A poorly installed faucet can be prone to leaks from the start. Loose connections or improperly tightened parts can create weak points where water can escape.
Identifying the Type of Faucet
Before attempting any repairs, it’s crucial to identify the type of faucet you have. This will help you understand its internal components and how to disassemble it correctly. The four main types of faucets are:
- Compression Faucets: These are the oldest type and are easily identified by their two separate handles for hot and cold water. They rely on washers to seal the valve seat.
- Ball Faucets: These faucets have a single handle that controls both water flow and temperature by moving a ball mechanism inside the faucet body.
- Cartridge Faucets: These also have a single handle, but the handle moves up and down to control water flow and side to side to control temperature. They use a cartridge to regulate water flow.
- Ceramic Disc Faucets: These are the most modern type and are known for their smooth operation and durability. They use two ceramic discs that slide over each other to control water flow.
Basic Troubleshooting and Repair Steps
Important Safety Note: Before starting any faucet repair, always turn off the water supply to the faucet. This is usually done by closing the shut-off valves located under the sink. If you can’t find shut-off valves, you may need to turn off the main water supply to your house.
Here are some general troubleshooting and repair steps for common faucet leaks:
- Identify the Leak Source: Observe where the water is leaking from. Is it dripping from the spout, around the handle, or from the base of the faucet? This will help you narrow down the potential causes.
- Gather Your Tools: You’ll likely need a few basic tools, including:
- Adjustable wrench
- Screwdrivers (Phillips and flathead)
- Pliers
- Penetrating oil
- New washers, O-rings, cartridges, or other replacement parts (depending on the type of faucet and the identified problem)
- Disassemble the Faucet: Carefully disassemble the faucet, following instructions specific to the type of faucet you have. You can find helpful diagrams and videos online.
- Inspect the Components: Once the faucet is disassembled, carefully inspect the washers, O-rings, valve seat, cartridge, and other components for wear, damage, or corrosion.
- Replace Worn or Damaged Parts: Replace any worn or damaged parts with new ones. Make sure to use the correct size and type of replacement parts for your faucet.
- Clean the Valve Seat: If the valve seat is corroded, you can try cleaning it with a valve seat dressing tool. If the corrosion is severe, you may need to replace the valve seat.
- Reassemble the Faucet: Carefully reassemble the faucet, making sure all parts are properly aligned and tightened.
- Turn on the Water Supply: Slowly turn on the water supply and check for leaks. If the faucet is still leaking, double-check your work and make sure all parts are properly installed.
When to Call a Professional
While many faucet leaks can be fixed with basic DIY skills, there are times when it’s best to call a professional plumber. Consider calling a plumber if:
- You’re uncomfortable with plumbing repairs.
- You can’t identify the source of the leak.
- You’ve tried to fix the leak yourself, but it’s still leaking.
- The faucet is severely corroded or damaged.
- You’re dealing with a complex plumbing system.
By understanding the common causes of faucet leaks and following these troubleshooting steps, you can often fix a leaky faucet yourself and save water and money. However, don’t hesitate to call a professional if you’re unsure or uncomfortable with the repair.